Category Archives: scrapbook journaling
Journaling Tips for Your Scrapbook Layouts
 As a follow-up to my “Waste Not, Want Not” blog, I wanted to show some different journaling techniques. I am a journaling NUT. Not because I love to write, but because I feel this weird need to chronicle every single thing I can possibly remember about the event I am scrapbooking at the moment.
For years, I thought the only way to do this journaling was to handwrite everything. If you look through my scrapbooks, you will see my incredibly sloppy handwriting EVERYWHERE! Smack in the middle of a page, at the bottom, squished in the top, like I said EVERYWHERE! YUCK! It’s unsightly to say the least.
Well, guess what? I discovered that handwriting your journaling is not the only way to go. Here are some ways that I now like to incorporate journaling into my scrapbooks:
- Journaling box (oldie but goodie)
- Hidden journaling
- Printer journaling
- Write around or directly on top of the photograph – major space saver
- Tags
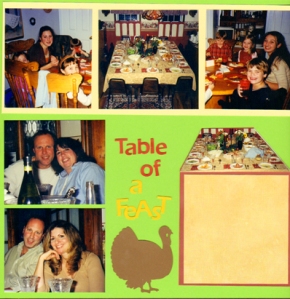
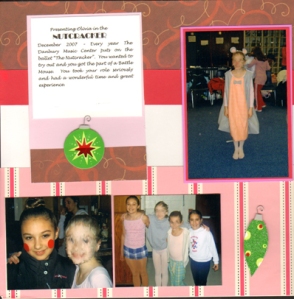
Journaling Box – In this layout, room was made for a journaling box. This is where you journal either with your own handwriting or via printer.
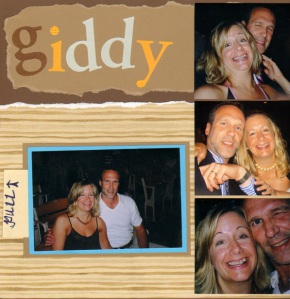
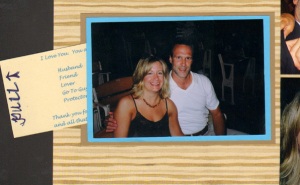
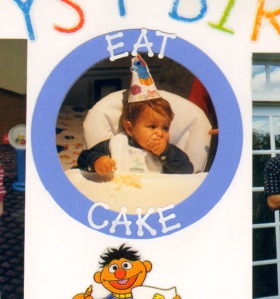
“Pull Here” tab – This is categorized as “hidden journaling.” This photo is double-matted. In between the two mats I left room for a pull tab that contains journaling by only adhering 3 sides of the mat.
Another form of “hidden journaling” – here the journaling is behind the photo. The reason for this is because there wasn’t enough space on the page for journaling. For this photo, I cut out the mat to resemble a file folder. Using my paper trimmer with the scoring blade, I scored along the top edge of the mat and adhered only this piece down so that the photo can be lifted to read the journaling.
Printer Journaling – Use your printer to journal. This is so much fun because you can chose the font type, size and color. Just be sure to use acid free paper when printing.
Journal on around or directly on top of a photograph – This form of journaling is a huge time and space saver! But it’s really only good if you have only a couple of words to say. Don’t try to cram too much on or around a photo, it will just turn out looking messy.
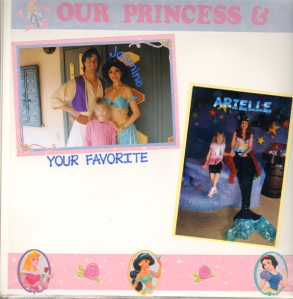
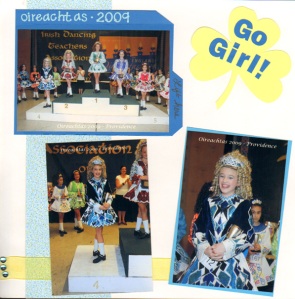
Example of journaling both on and around. Again, mini alphabets stickers were used for the journaling.
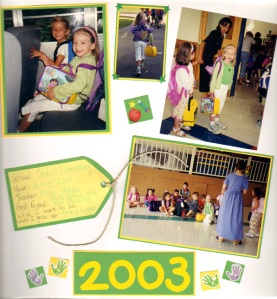
Tag Journaling – I love to use this technique when creating school layouts, but this can be used for anything! Tags can be bought at the craft store or regular cardstock can be cut to look like a tag.
